Installing Fence Panels A Comprehensive Guide
Installing fence panels can enhance the aesthetics and security of your property while providing privacy and defining boundaries. Whether you are a seasoned DIY enthusiast or a first-time homeowner, understanding the steps involved in installing fence panels can help you achieve a professional-looking result. This guide will take you through the process step-by-step.
Step 1 Planning and Preparation
Before you begin, it’s crucial to plan your fence installation. Determine the purpose of the fence, whether it's for privacy, security, or decoration. Take time to measure the area where you intend to install the panels. This involves marking out where each panel will go, ensuring the fence line is straight, and avoiding any obstructions such as trees and utility lines. Additionally, check local zoning laws and homeowners' association guidelines to ensure your plans comply with regulations.
Step 2 Selecting Materials
The next step is choosing the right materials. Fence panels come in various types, including wood, vinyl, metal, and composite materials. Each type has its own advantages and disadvantages. While wooden fences provide a traditional look and can be easily customized, vinyl fences require less maintenance and are more durable in various weather conditions. Metal panels, on the other hand, can offer both security and style.
Once you select the material, gather additional tools and supplies, such as concrete mix, wood stakes, a level, measuring tape, a post hole digger, and screws or nails. Having everything ready before you start will save time and make the process smoother.
Step 3 Setting the Posts
installing fence panels

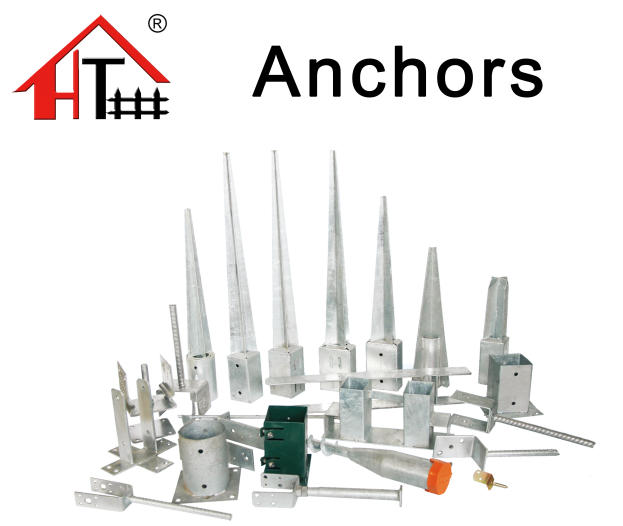
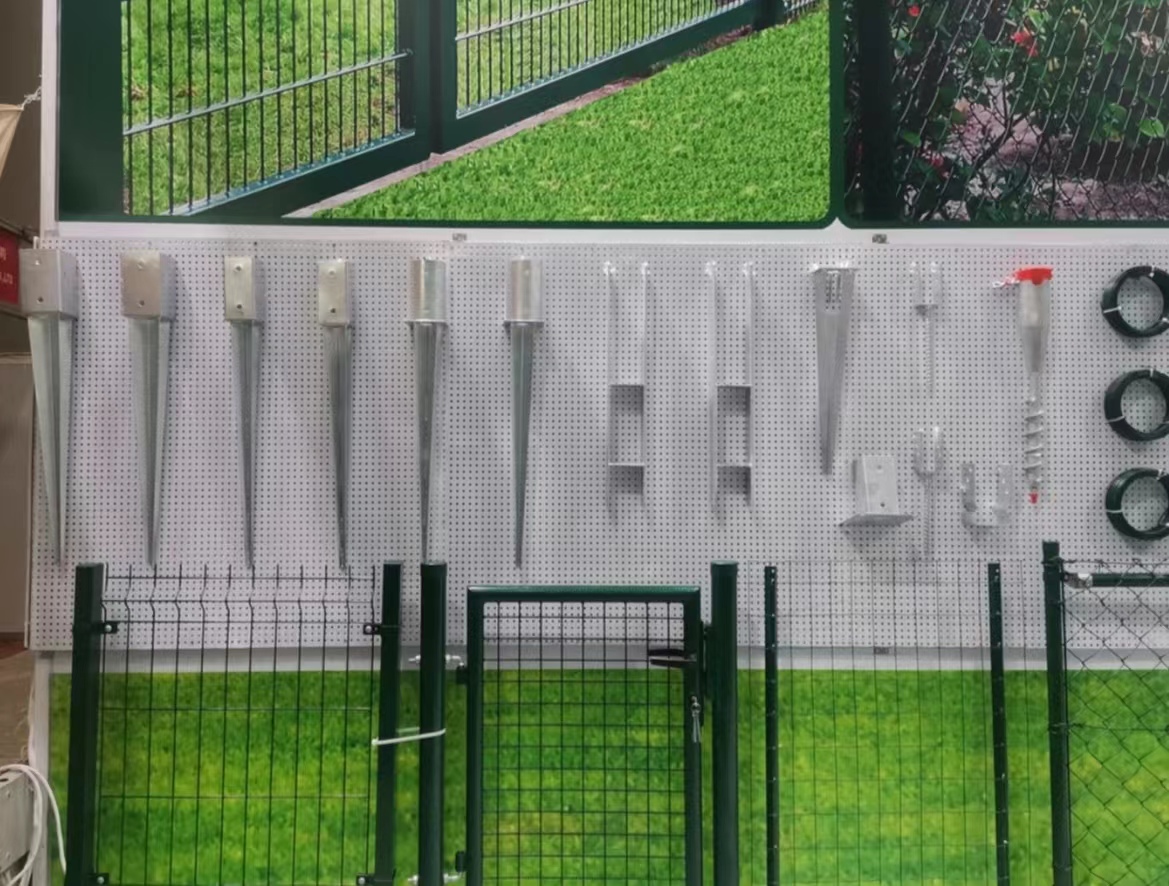
The integrity of your fence largely depends on how well the posts are installed. Begin by marking the spots for the posts based on the size of your fence panels. A common distance between fence posts is 6 to 8 feet, depending on the panel length. Dig holes for the posts, typically around 2 feet deep, to ensure stability.
Once the holes are dug, place the posts into the holes and use a level to make sure they are straight. Fill the holes with concrete mix, allowing it to set according to package instructions. This may take 24 to 48 hours, so patience is key.
Step 4 Installing the Panels
After the posts have set, it’s time to install the fence panels. Start at one end and slide a panel into place between the first two posts. Make sure it’s level before securing it with screws or nails. Continue this process for the remaining panels, regularly checking for level alignment. If your fence line has any curves, you may need to trim panels to fit appropriately.
Step 5 Finishing Touches
Once all panels are installed, consider adding finishing touches. This may involve painting or staining wooden panels to protect them from the elements, or cleaning vinyl and metal panels to ensure they look their best. Installing a decorative cap on top of the posts can also add a nice touch to the overall appearance.
Conclusion
With careful planning, the right materials, and a bit of patience, installing fence panels can be a rewarding project that significantly enhances your outdoor space. Not only will you achieve a functional barrier, but you will also add value to your property. So gather your tools, roll up your sleeves, and get started on your fence installation today!


