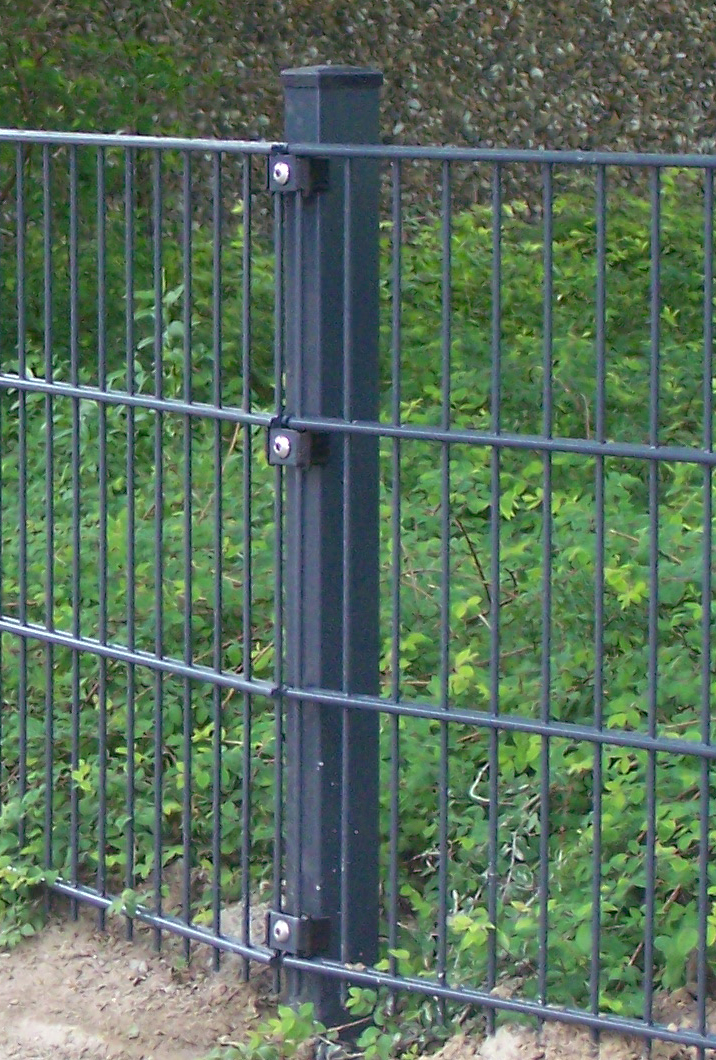
Setting Fence Posts in Concrete A Step-by-Step Guide
When it comes to building a fence, strong and secure fence posts are essential for ensuring stability and durability. One of the best methods to ensure that your fence posts are anchored firmly is by setting them in concrete. In this article, we will discuss the step-by-step process of setting fence posts in concrete, along with important tips to make the task easier and more effective.
Step 1 Gather Your Materials
Before you begin, it’s important to gather all the necessary materials. You will need
- Fence Posts Choose the appropriate length and material (wood, vinyl, or metal) based on your fence design. - Concrete Mix Consider using quick-setting concrete for faster results. - Post Hole Digger A manual or power post hole digger will help you dig holes efficiently. - Level A spirit level will ensure your posts are straight. - Measuring Tape To measure the depth and spacing of the posts. - Water Needed for mixing with concrete. - Shovel and Trowel For mixing and smoothing the concrete. - Safety Gear Gloves and eye protection to keep you safe during the project.
Step 2 Planning and Marking
Begin by planning the layout of your fence. Determine where each post will go, taking into consideration the total length of the fence and the spacing between the posts. A common distance is 6 to 8 feet apart, but you should adjust this depending on the type of fence you’re installing.
Once you’ve decided on the layout, use a measuring tape to mark where each post will go. Use stakes or flags to clearly indicate the positions on the ground.
Step 3 Digging the Holes
Using the post hole digger, dig holes at each marked location. The holes should be approximately one-third the length of the fence post to ensure a stable foundation. For example, if you are using a 6-foot post, the hole should be around 2 feet deep. The diameter of the hole should be at least three times wider than the post for optimal stability.
Step 4 Prepping the Concrete
concrete to set fence post
If you are using quick-setting concrete, it is simply mixed with water according to the package instructions. In most cases, the ratio will be around one part water to five parts concrete mix. It’s important to mix the concrete in a wheelbarrow or bucket until it reaches a uniform consistency.
Step 5 Setting the Posts
Place the fence post into the center of the hole, ensuring it is as straight as possible. Use a level to check that the post is vertical. Once you’re satisfied with the alignment, begin to pour the mixed concrete into the hole around the post. Fill the hole to a few inches above ground level, as the concrete will settle.
Step 6 Securing the Post
After filling the hole with concrete, use a trowel to smooth the surface and create a slight slope away from the post. This will help direct water away from the base of the post, reducing the risk of rot or decay (especially important for wood posts).
Step 7 Curing the Concrete
Allow the concrete to cure properly. Follow the manufacturer's recommendations on curing time, which usually takes about 24 to 48 hours for quick-setting concrete. Avoid putting any weight or pressure on the fence post during this time to ensure it sets properly.
Step 8 Finishing Touches
Once the concrete has completely cured, you can continue to build your fence. Attach the horizontal rails to the posts and add the panels or decorative elements as per your fence design.
Conclusion
Setting fence posts in concrete is a straightforward yet crucial task for DIY projects. By following these steps, you can ensure that your fence is sturdy and long-lasting. Remember to take your time during each stage, especially with mixing and setting the concrete. A well-installed fence not only adds aesthetic value to your property but also provides a sense of privacy and security for years to come. Happy fencing!


